Installation
This guide walks you through installing AirPath in your Unity project.
Dependencies Check
If you encounter compilation errors, verify all required packages are installed:
- Open Window → Package Manager
- Check that these packages appear in the list:
- Entities
- Burst
- Collections
- Mathematics
- Input System
- TextMeshPro
If any are missing, install them by clicking + → Add package by name and entering the package name (e.g., com.unity.entities).
Install from Unity Asset Store
The recommended way to install AirPath is through the Unity Asset Store:
- Purchase/download AirPath from the Unity Asset Store
- Open your Unity project
- Go to Window → Package Manager
- Select My Assets from the dropdown
- Find AirPath and click Import
- In the Import dialog, click Import to add all files
If you only need the core runtime functionality, you can uncheck the Samples folder during import. The samples include demo scenes and example agents that are helpful for learning but not required for production use.
Install from Package
If you received AirPath as a .unitypackage file:
- Open your Unity project
- Go to Assets → Import Package → Custom Package...
- Navigate to and select the
AirPath.unitypackagefile - Click Import in the dialog
Project Structure
After importing, you'll find the following structure in your project:
Assets/
└── PlatypusIdeas/
    └── AirPath/
        ├── Editor/            # Welcome Window
        ├── Runtime/           # Core pathfinding code
        │   ├── Configuration/ # ScriptableObject configs
        │   ├── Core/          # Grid, pathfinding, terrain
        │   ├── Events/        # Event system
        │   ├── Modes/         # Pathfinding modes
        │   ├── UI/            # User Interface for demo Scene
        │   ├── Utilities/     # Helper classes
        │   └── Visualization/ # Handling visuals for demo
        ├── Samples/           # Demo scenes and examples
        │   └── Demo/
        │       ├── Scenes/
        │       ├── Scripts/
        │       └── Prefabs/
        └──
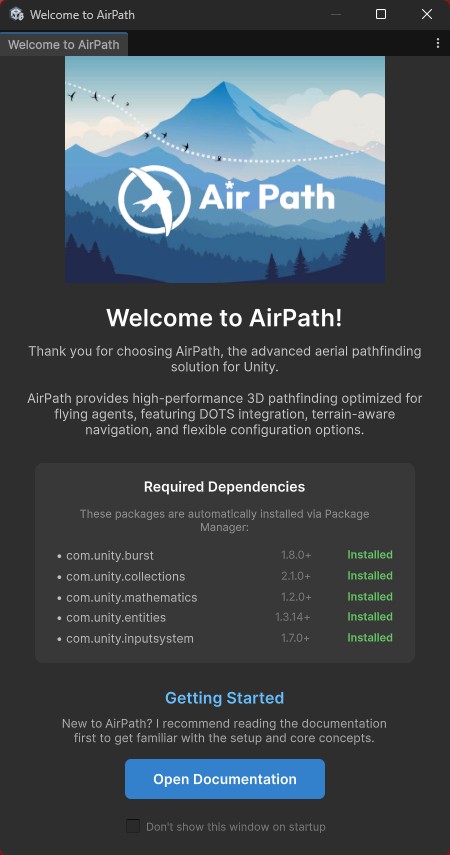
Install completed
If everything was installed correctly, you should now see the welcome window as in the picture.
Next Steps
With AirPath installed, proceed to the Quick Start guide to set up your first pathfinding scene.