Quick Start
Explore the Demo scenes and get familiar with the core setup of Air Path.
Try the Demo Scene first
AirPath includes demo scenes to help you understand the system:
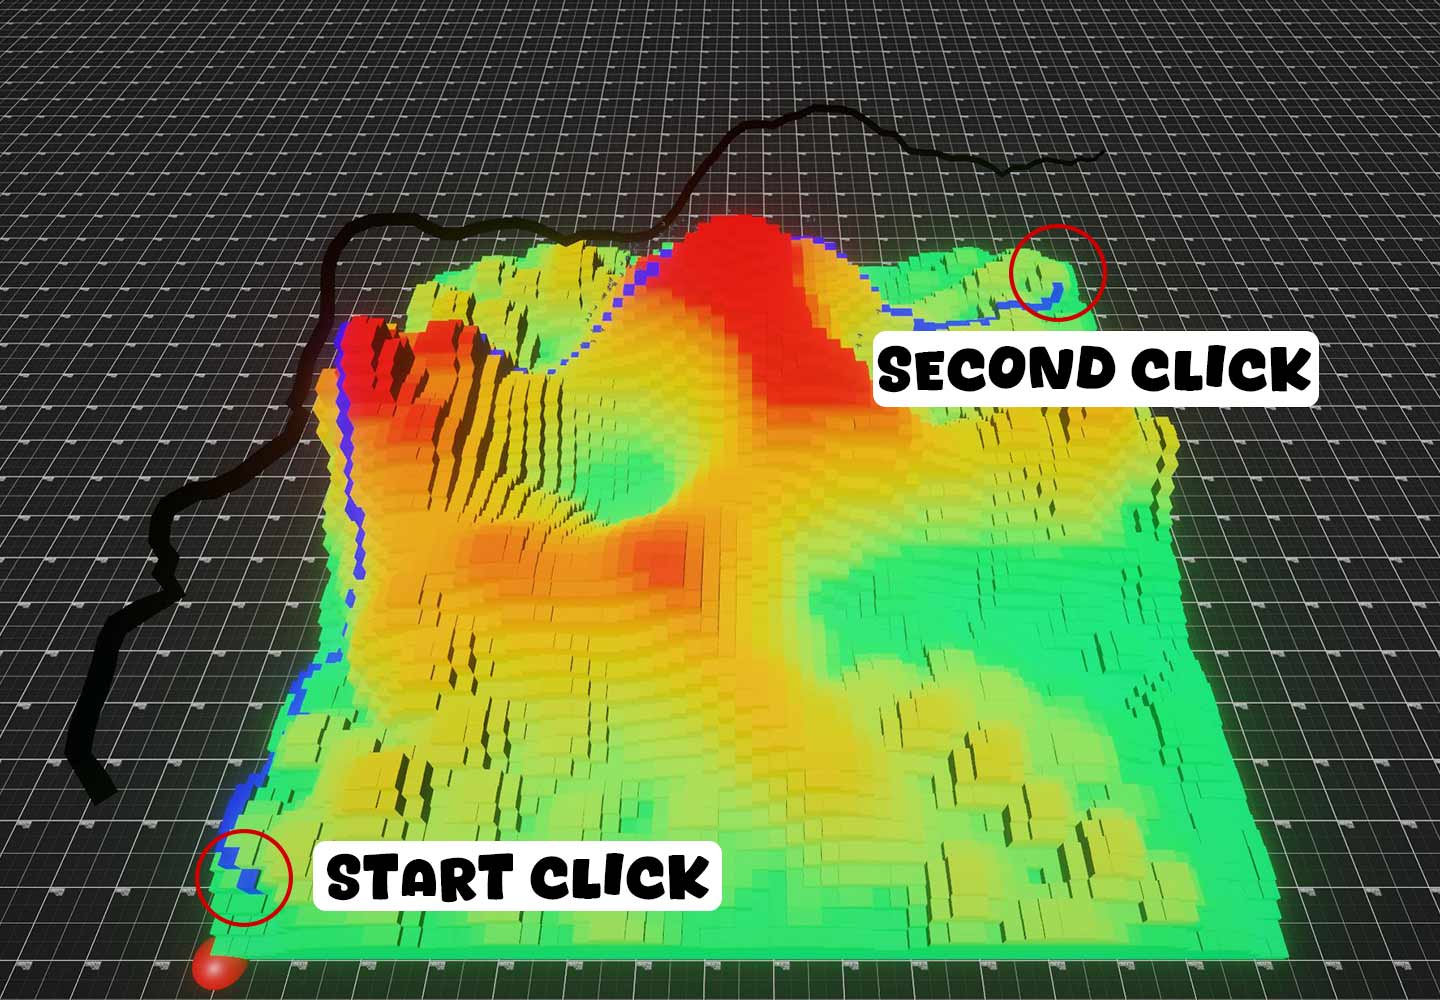
Mouse Click Mode
- Navigate to
Assets/PlatypusIdeas/AirPath/Samples/Demo/Scenes/ - Open the demo scene based on your render pipeline
- Press Play
- Click on the terrain to set a start point
- Click again to set an end point and calculate a path
- Every additional click on the terrain now will be set as the new end point, while the current average position of the birds will be set as the new start point.
Switch to Target Follow Mode
- Navigate to the
PathfindingManager > PathfindingCoregameobject in the scene hierarchy.
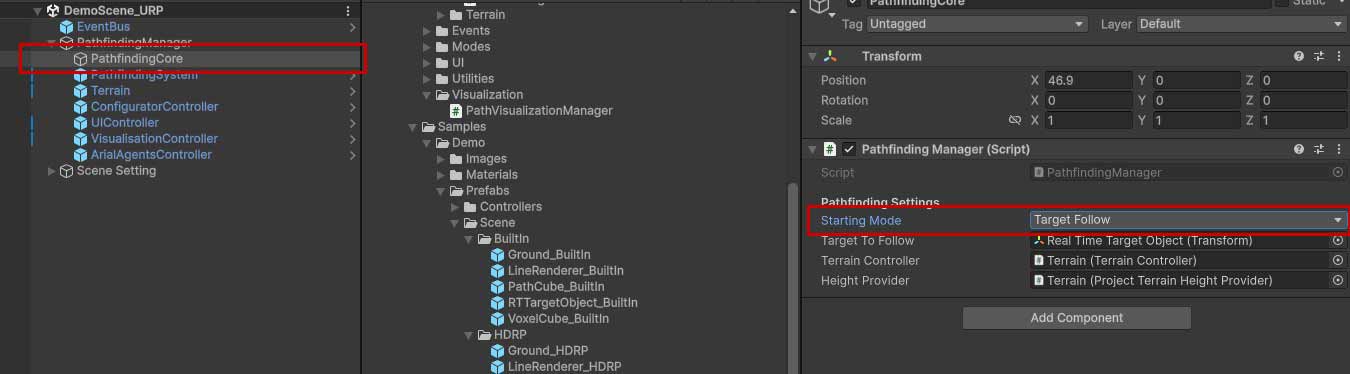
- Change Starting Mode to Target Follow
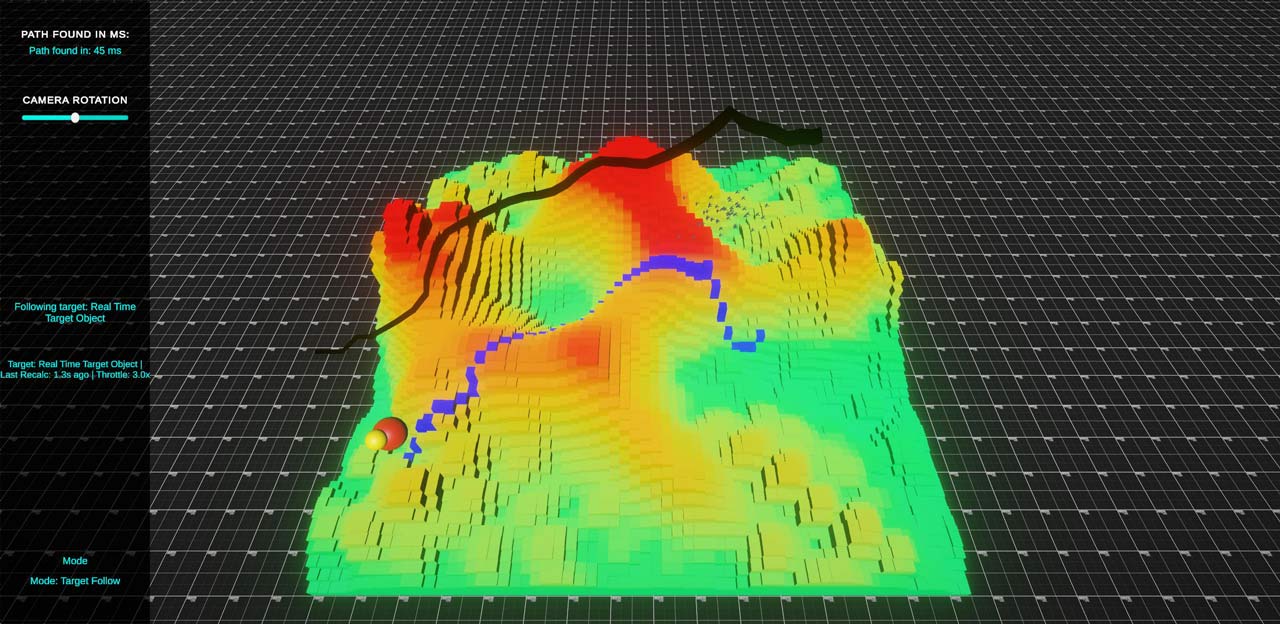
- Press Play
- Watch the Target moving around the terrain, while the pathfinding system is updating the optimal path.
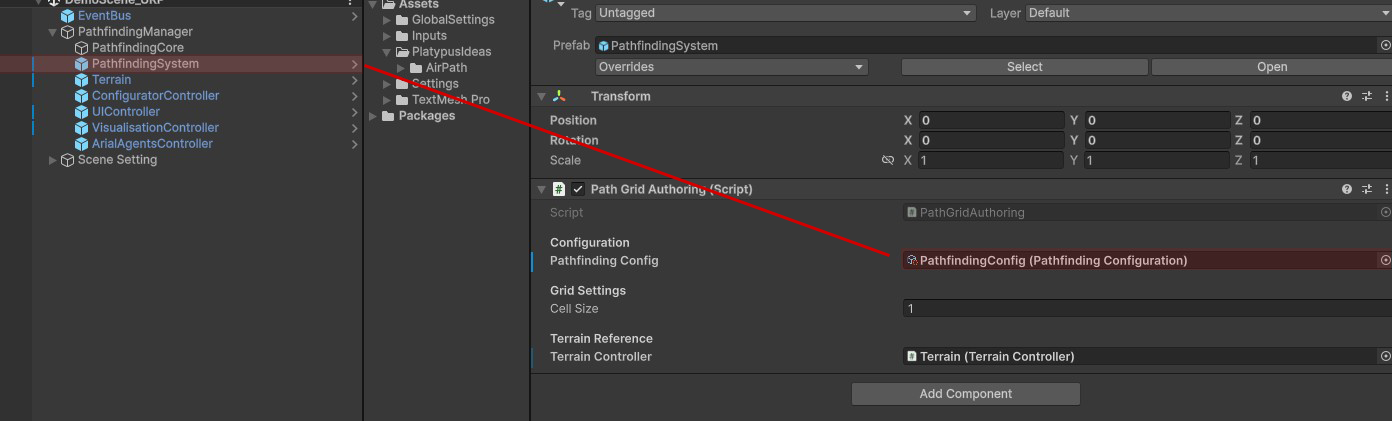
Understanding Path Calculation Settings
The Pathfinding Configuration ScriptableObject controls how paths are calculated, particularly how the algorithm weighs vertical movement against horizontal travel.
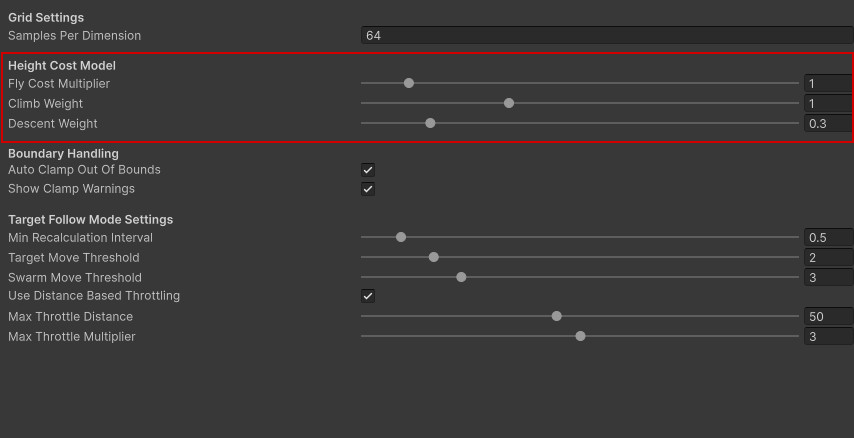
Height Cost Model
These three parameters work together to determine how "expensive" vertical movement is compared to flying horizontally:
Fly Cost Multiplier (0 - 10, default: 1)
Controls how much height changes cost relative to horizontal distance.
- 0 = Height is ignored entirely — paths take the shortest route regardless of elevation
- 1 = Climbing 1 meter costs the same as flying 1 meter horizontally
- 2 = Climbing 1 meter costs as much as flying 2 meters horizontally
Higher values make the algorithm prefer flatter routes, even if they're longer.
Climb Weight (0 - 3, default: 1.0)
Additional multiplier applied specifically to upward movement. Increase this to make your agents avoid climbing more aggressively. A value of 2.0 means ascending is twice as costly as the base fly cost would suggest.
Descent Weight (0 - 2, default: 0.3)
Multiplier applied to downward movement. This is typically lower than climb weight since descending requires less energy. The default of 0.3 means going down is only 30% as costly as going up.
With default settings (fly cost: 1, climb: 1.0, descent: 0.3), a bird flying over a 50m hill would prefer to go around it if the detour is less than roughly 65m longer — because climbing 50m "costs" 50 units, but descending only costs 15 units (50 × 0.3).
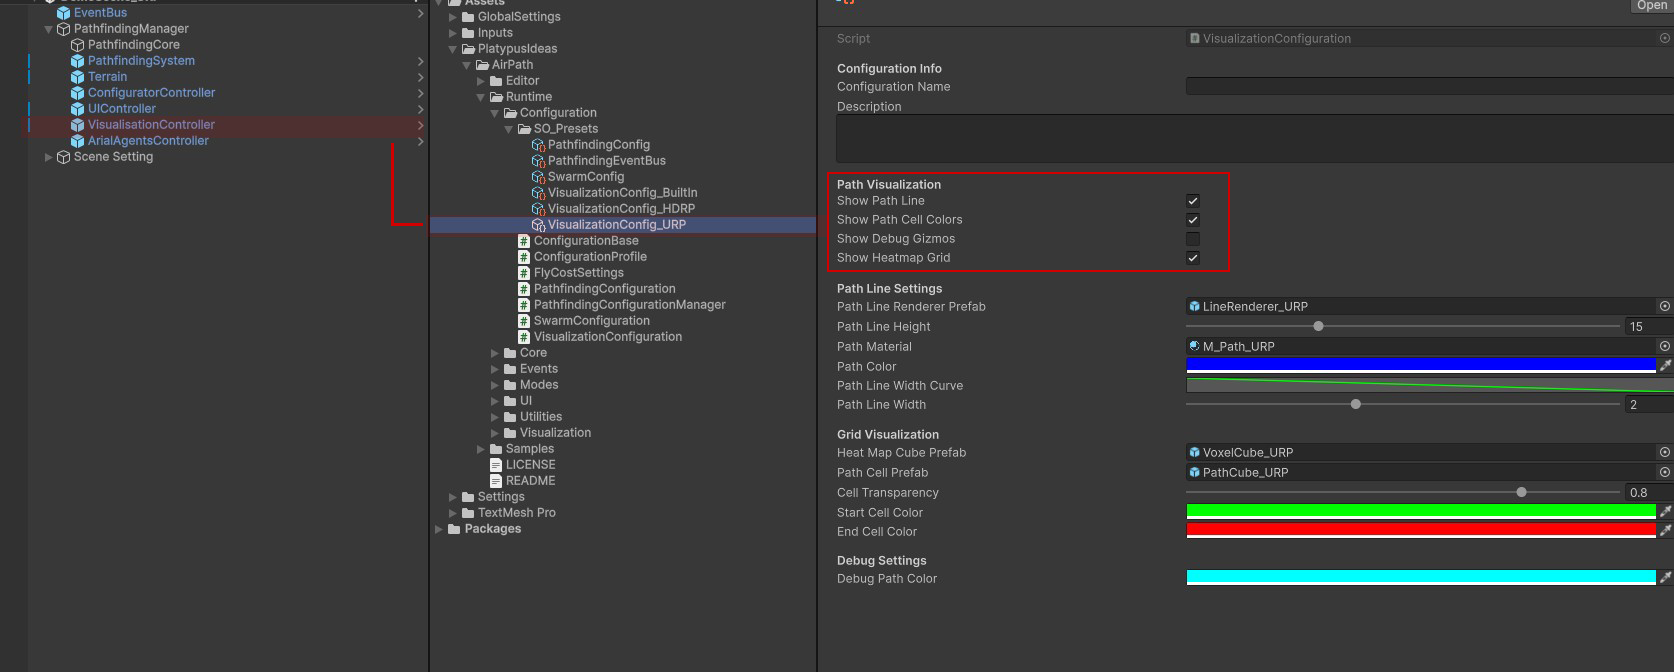
Visual Debug Settings
The ScriptableObject for Debug Visualization can be customized. Turn on/off the debug features you like.

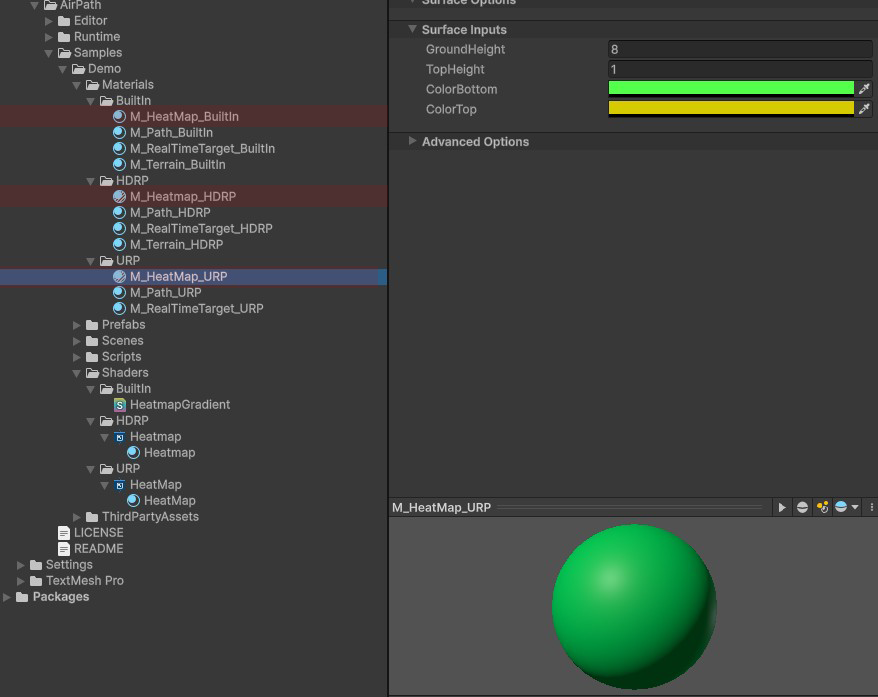
Changing the shader colors
If you need or want to change the colors or intersection heights of the debug shader, you can do that on the material itself. Make sure you're making the changes on the right material based on your render pipeline.
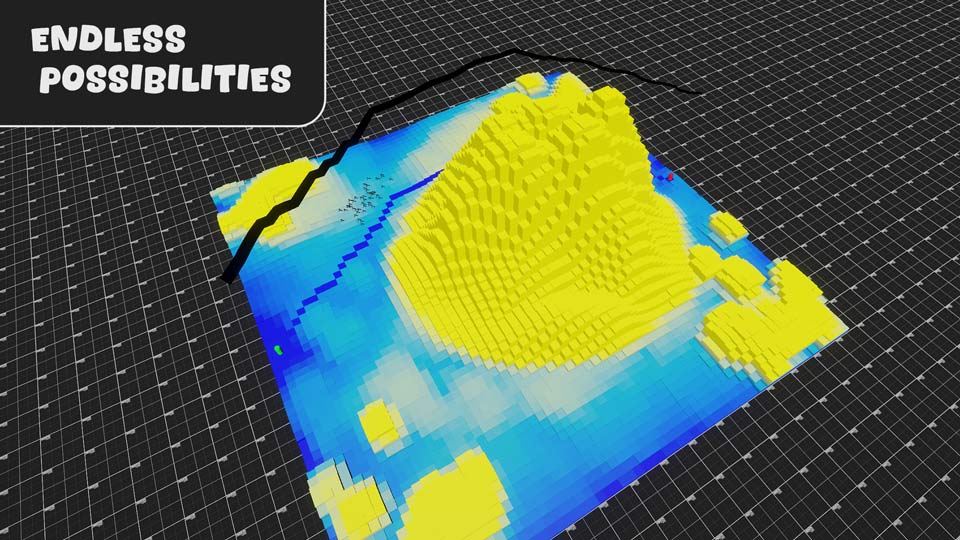
You can create whatever color and intersection levels fits your custom terrain best. Some impressions:

What's Next?
Keep exploring the demo scenes for an even better understanding. Or, move on to the Setup Guide section where all the core components are explained for your own setup.